1. Account Creation & Login
- Find your way to the Login Page (https://portal.639cloud.com/login)
- If you have not already signed up, click “Create an Account” to navigate to the signup page (https://portal.639cloud.com/signup)
- Check your email & Verify your account.
- Once Verified, it will take you back to your logged in zCloud Account Page.
2. Add Payment Method
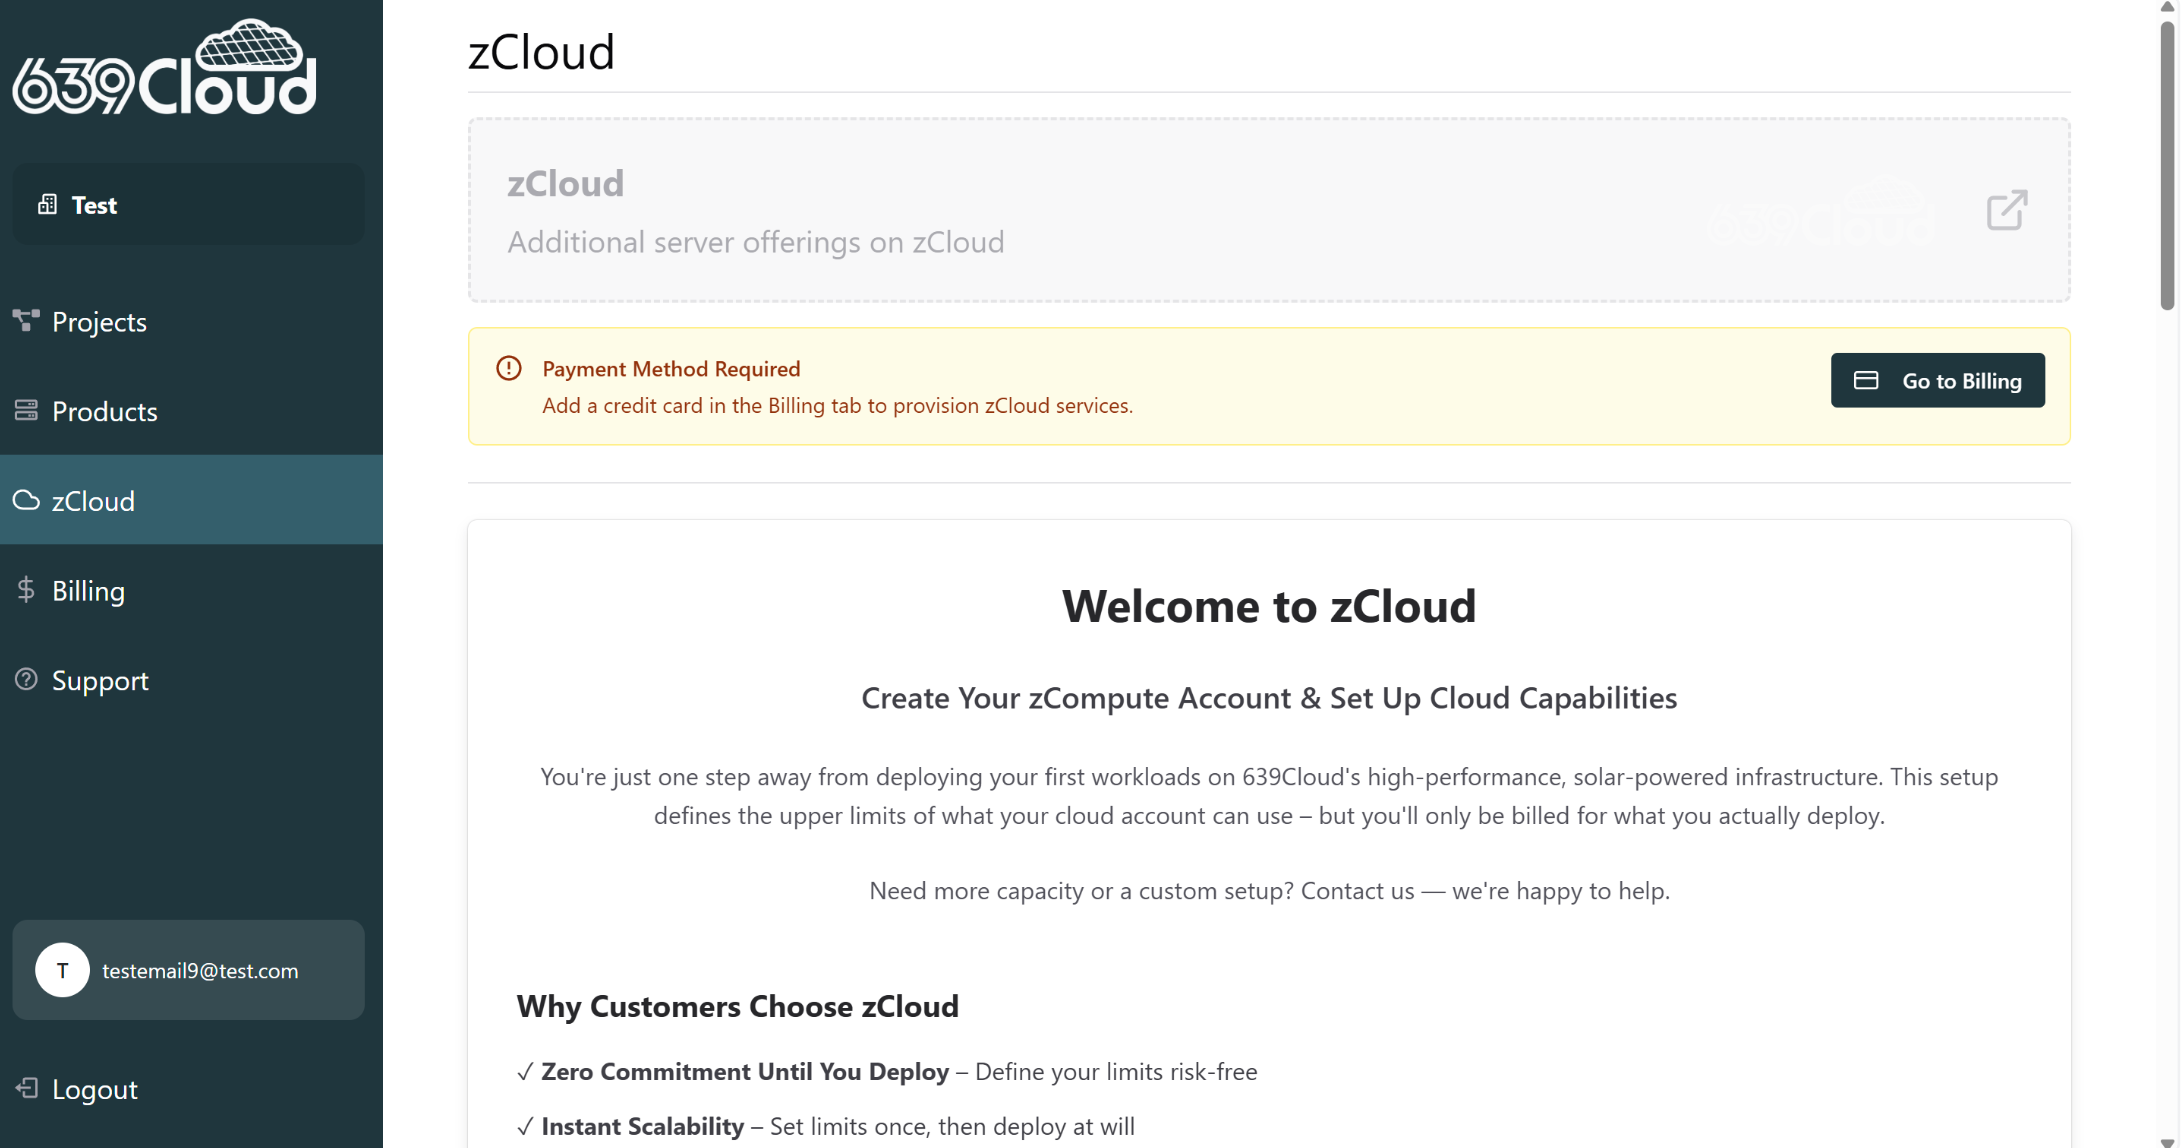
Before a compute account can be created:
- In order to continue provision, you must add a payment method first.

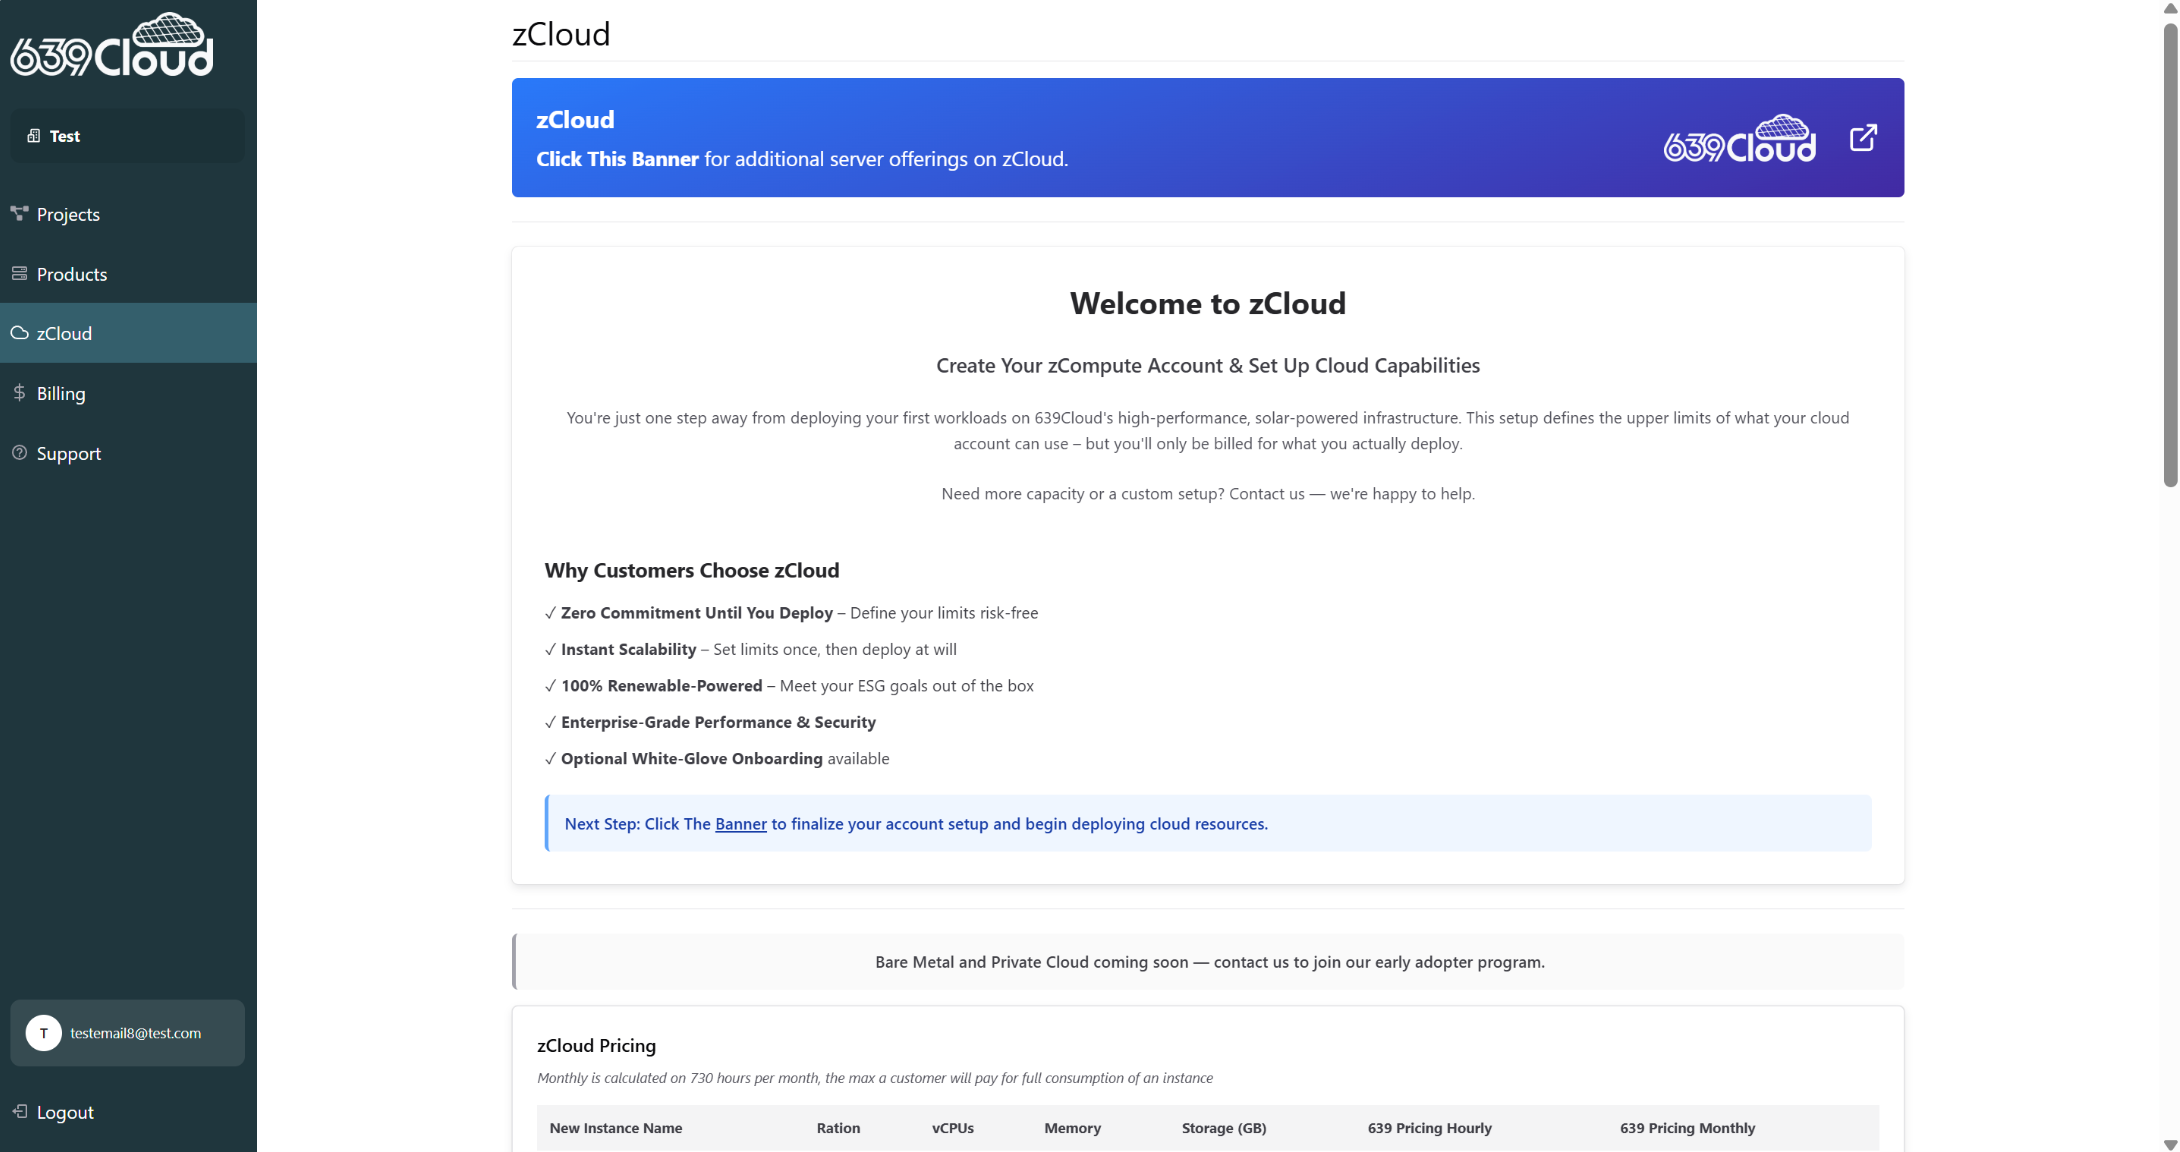
3. Initiate zCloud Account Creation
- Once billing is configured, click the blue zCloud banner on the zCloud page.
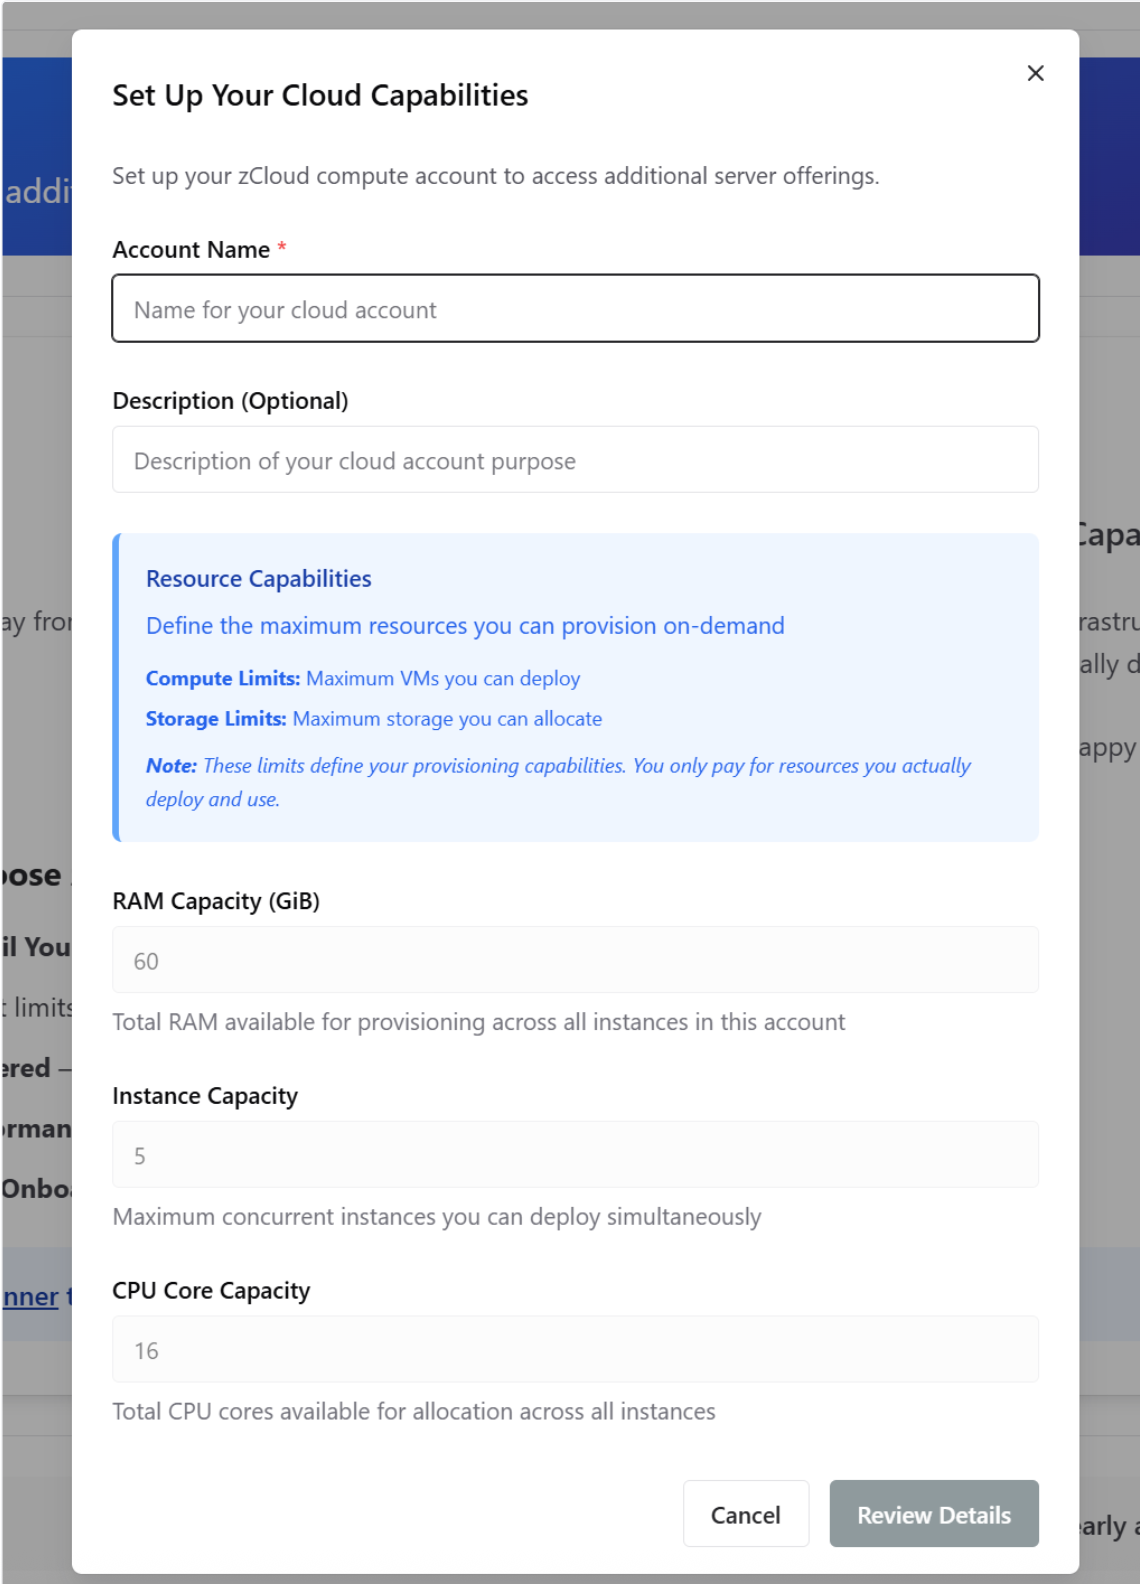
- Fill out the zCloud compute account form:
- Required: Account Name
- Optional: Description
- Default limits:
- 60 GB RAM
- 5 max instances
- 16 vCPU cores
- If higher limits are needed, the customer must contact support.
4. Review & Confirm Account
- Please review all details of your caccount before continuing.
5. Account Creation & Access
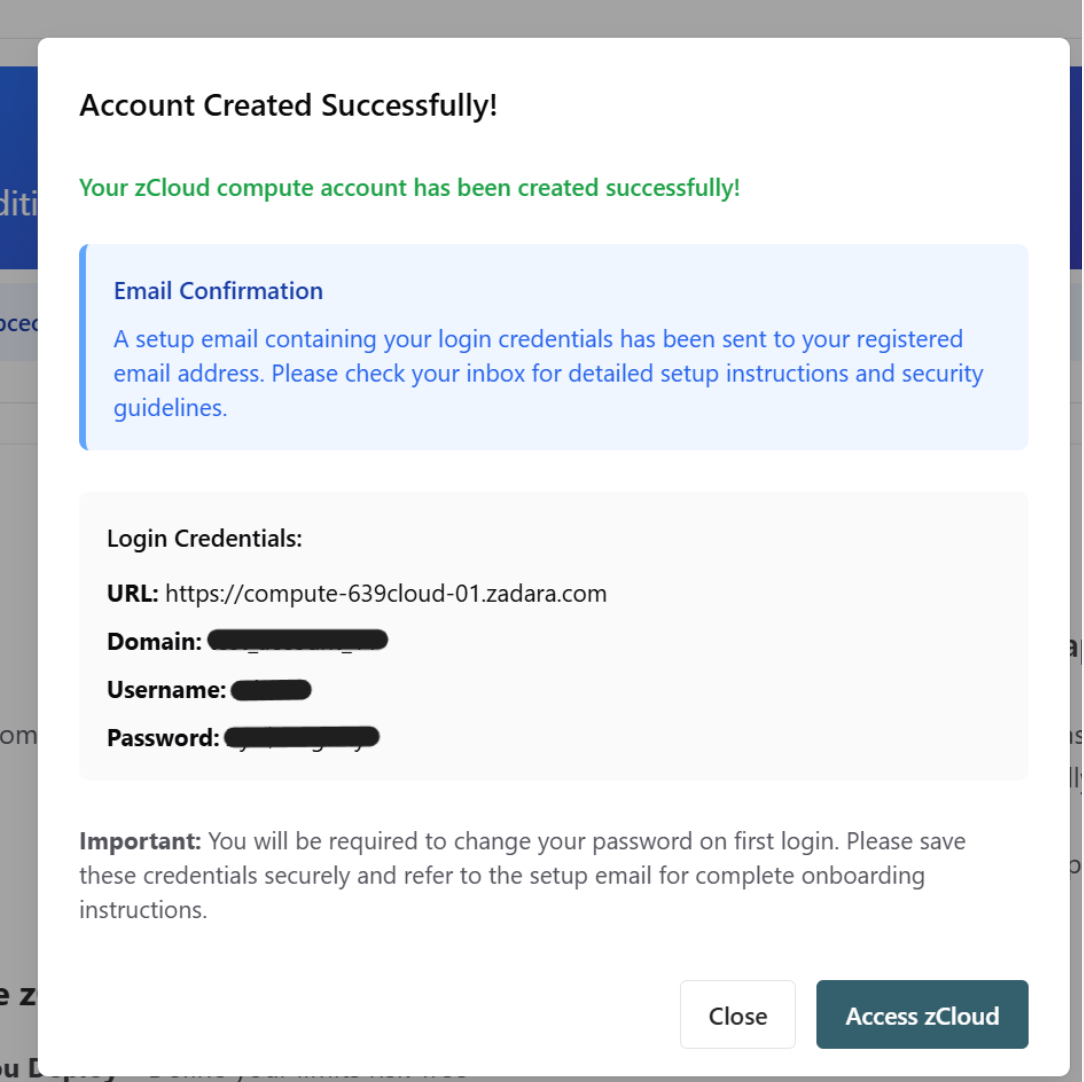
- Upon submission, you should see the following confirmation messages:
- "Account Created Successfully"
- Includes:
- zCloud URL
- Account name
- Username
- Temporary Password
- You will be required to change your password upon first login. Please save these credentials securely and refer to the setup email for complete onbaording instructions.
- Includes:
- "Account Created Successfully"
- Check your email for a Confirmation Email with the same login credentials
6. First Login to Compute Console
- Go to your compute console Login Page (https://compute-639cloud-01.zadara.com)
- Reset your password on your first login only.
- Once password is reset, you will be taken to your zCloud Dashboard.
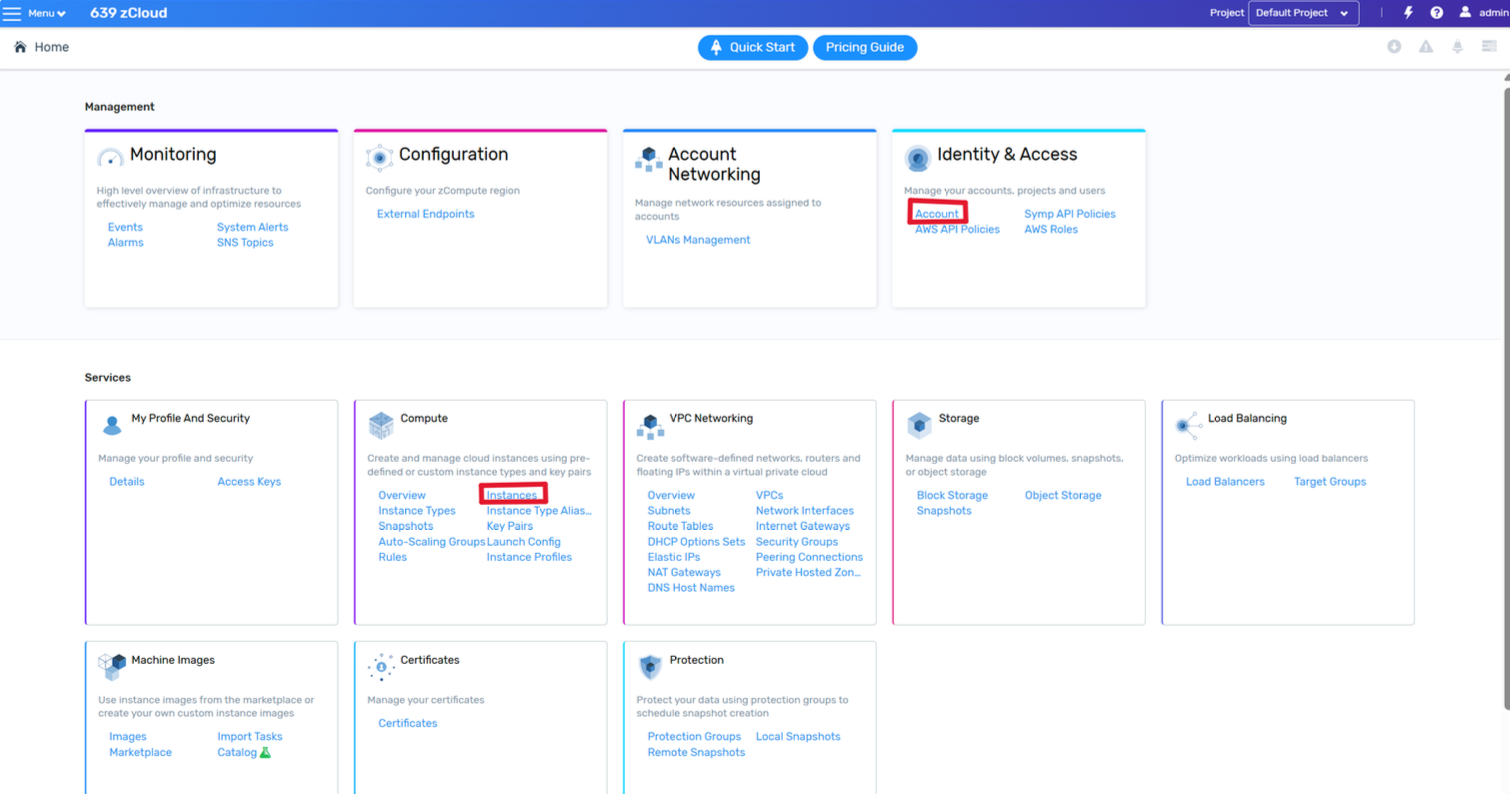
- Click Instances to launch your VM (see image below)
- Click Account to manage user permissions, and projects (see image below).